A giant ornament display can change the whole look of a house, a hotel lobby, or a shop front, and you don't need scaffolding or a crew to build one. This guide walks through the best layouts for Christmas, then how to plan, build, secure, and light your display.
Choose Your Christmas Layout
1. The Front Porch Trio
The simplest display, and one of the most effective. Group three Big Shiny Ornaments beside the front door, surrounded by garland and lights.

Best for: Front porches and entryways
Recommended: 2–3 ft ornaments in one color
2. The Ornament Pyramid
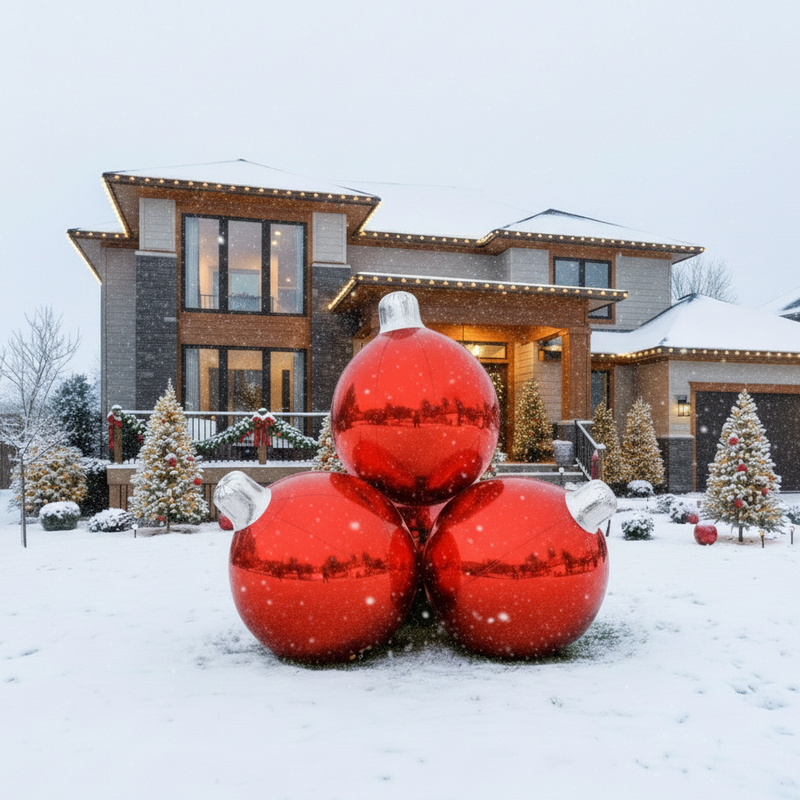
The classic stacked display. The Shiny Ornament Pyramid Set uses 4 ornaments and comes in heights from 4 ft to 16 ft. The Set of 10 comes in heights from 6 ft to 18 ft.

Best for: Front lawns, town squares, hotel entrances, shopping centers
Recommended: An 8 ft Set of 4 for a front yard, or a 12 ft or taller set for commercial spaces
3. The Ball Christmas Tree
Chrome balls stacked into a tree shape make a modern alternative to a traditional tree. The Big Shiny Ball Christmas Tree comes in 9 ft and 13 ft. For a sleeker shape, the Big Pointy Tree comes in heights from 4 ft to 20 ft.

Best for: Town squares, hotel lobbies, retail spaces, large yards
4. The Mixed-Size Cluster
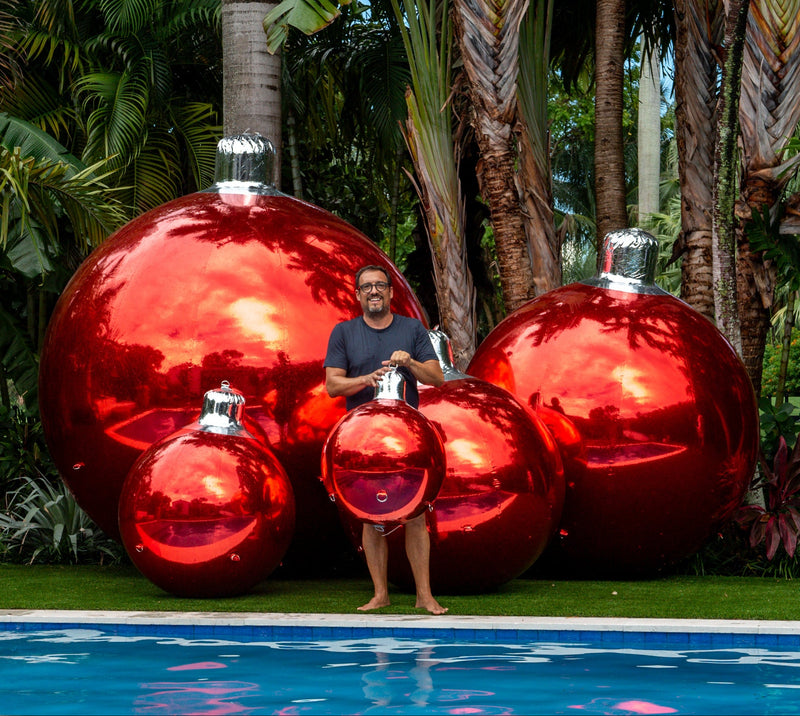
A relaxed group of ornaments in graduated sizes works on a lawn, in a lobby, or around the base of a real tree. The Medium Ornament Assortment includes 3 ft, 4 ft, and 6 ft ornaments, and the Shiny Ornament Assortment includes 2 ft, 3 ft, 4 ft, 6 ft, and 8 ft ornaments. Both come with a pump.

Best for: Lawns, hotel lobbies, office entrances
Recommended: 3–5 sizes in 1–2 colors. Striped ornaments add a playful twist.
5. The Storefront Display
A few large ornaments outside a shop give passersby a reason to stop and take a photo. Place them to the side of the door so the entrance stays clear. To add your logo, see the Custom Printed Big Shiny Ornament.

Best for: Boutiques, restaurants, shopping streets
Finishing touch: Big Shiny Candy Canes and Big Gift Boxes round out a scene.
Step-by-Step: Build Your Display
Step 1: Plan and Measure
Before inflating anything, sketch your layout or mark the space. Consider:
- The space you have, including ceiling height indoors
- Where people will see the display from, such as the street, the driveway, or the lobby door
- Where photos will be taken
- Walkways, driveways, and exits, which all need to stay clear
- Doorways, since large ornaments may not fit through once inflated
- Power for your pump and lights
Need help choosing sizes? See our Christmas ornament buyer's guide.
Step 2: Inflate
- Unfold each ornament on a clean, smooth surface, away from gravel or anything sharp
- Connect The Pump to the valve
- Inflate until firm but still slightly flexible, and don't over-inflate
- Close the valve
- Check again after 15–20 minutes and add air if needed
Inflating in the cold? Air contracts as it cools, so an ornament inflated indoors may look slightly soft outside. A little extra air fixes it.
Step 3: Build and Secure
- Start with the largest ornaments and work from the bottom up
- Secure the base layer completely before adding anything on top
- Outdoors, anchor your display with ground stakes on grass or weights on hard surfaces
- Keep ornaments away from anything sharp, including branches and fence tops
- Any hanging or overhead display should be planned and installed by a qualified rigging professional
Wind is the main thing to watch. If strong winds are forecast, bring your ornaments inside or deflate them until it passes.
Step 4: Light It
Chrome reflects every light around it, which is what makes a display glow at night.

- String lights: Garland and lights on a porch or nearby trees reflect beautifully in the chrome
- Uplights: Ground lights aimed at a pyramid or tree make it stand out after dark
- Color: Warm white feels classic, while colored lights change the look of silver ornaments
- Safety: Use lights and extension cords rated for outdoor use, and keep cords out of walkways
Step 5: Final Check
- Walk all the way around the display
- Check that every ornament is firm and every anchor is secure
- Take a photo from the street or the entrance, both in daylight and after dark
- Wipe off any smudges with water and a soft cloth
Tips for a Display That Looks Designed
- Stick to 2–3 colors: Red and silver, or gold and silver, always work. One color in mixed sizes looks especially elegant.
- Use odd numbers: Groups of 3, 5, or 7 look more natural than even groups.
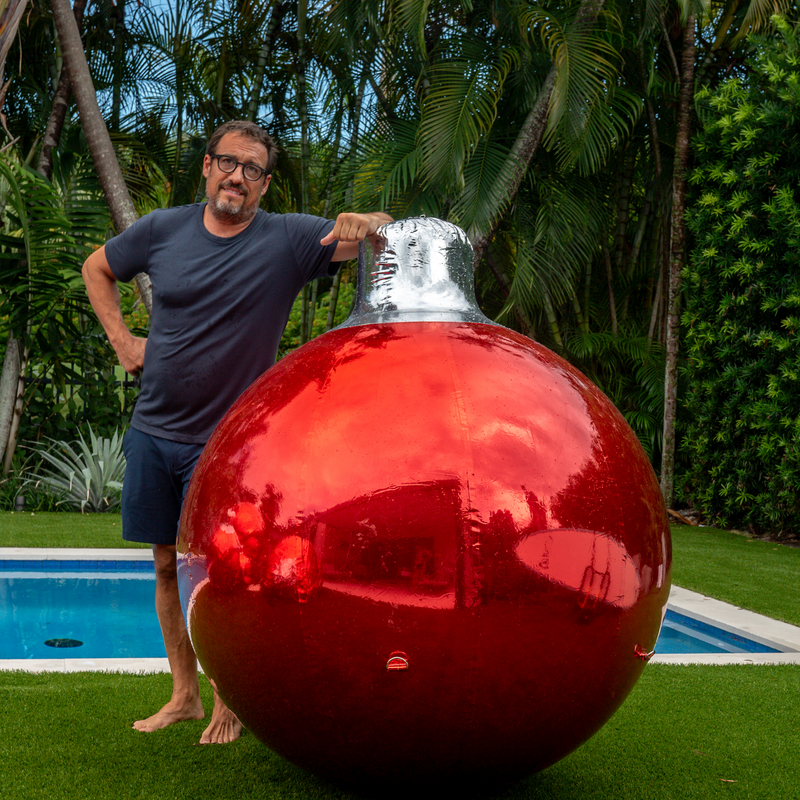
- Go a size up: Outdoors, things look smaller than you expect, especially from the street.
- Leave some space: A little room around the display helps it stand out.

After the Holidays
When the season ends, wipe each ornament clean, let it dry fully, then deflate and fold it loosely. Store it somewhere cool and dry, ready for next year. Our care guide has more detail.
When to Order
Big Shiny Balls® are made to order. Standard delivery takes about 2 weeks, and custom orders need at least 4 weeks. Rush orders with approximately 7-day delivery are available for an extra 10% of your order subtotal. For the best choice of sizes and colors, order as early as you can.
Shop all Shiny Ornaments to start building your display.