Installation Layout Types
1. The Pyramid Stack
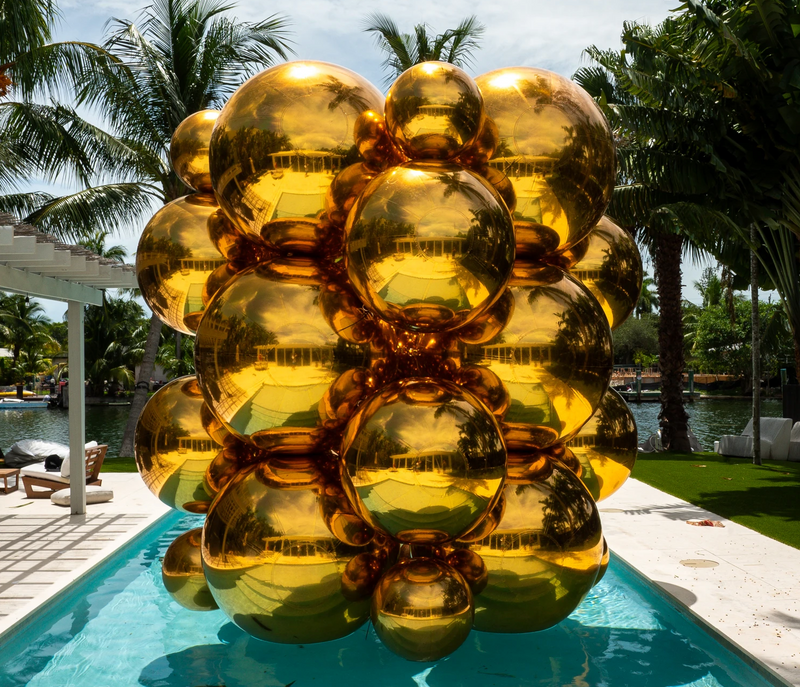
The most iconic inflatable ball display. Large balls at the base, medium balls (3–4 ft) on top, and smaller balls (2 ft) at the peak. This creates a dramatic focal point for entrances, stages, and photo zones.

Best for: Entrance displays, stage backdrops, reception focal points
Recommended: Big Shiny Bundle (six balls in four sizes, plus a pump) or your own selection
2. The Wall / Backdrop
A flat arrangement of balls at varying heights against a wall or frame. Ideal for photo opportunities, press walls, and step-and-repeat setups. Mix chrome colors (silver + gold, or silver + rose gold) for visual interest.

Best for: Photo walls, press events, brand activations, wedding backdrops
Recommended: Multiple bundles in coordinated colors, such as the Big Shiny Party Bundle, supported by a frame or wall mounts
3. The Organic Cluster
A loose, natural-looking grouping scattered across a floor area, floating in a pool, or arranged around furniture. This creates an immersive environment rather than a single focal point.

Best for: Pool parties, outdoor festivals, lounge areas, immersive events
Recommended: Mix of sizes and 2–3 complementary colors
4. The Ceiling Hang
Balls suspended from ceiling structures at varying heights create a floating, dreamlike atmosphere. This requires structural ceiling points or a rigging grid, and should always be planned and installed by a qualified rigging professional.

Best for: Indoor galas, ballrooms, gallery spaces, retail ceilings
Recommended: 2–4 ft balls with D-ring attachment points + rated rigging hardware
5. The Single Statement Piece
One oversized ball (8–10 ft) as a standalone installation. The sheer scale creates impact without needing multiple elements. Particularly effective in minimal, modern spaces.

Best for: Lobby installations, art displays, brand statements, commercial windows
Recommended: A single 8 ft or 10 ft Big Shiny Ball® in your brand's color
Step-by-Step Installation Guide
Step 1: Plan Your Layout
Before inflating anything, plan the arrangement on paper or tape out the floor space. Consider:
- Available space dimensions (floor area, ceiling height)
- Sight lines — where will people view the installation from?
- Photography angles — where will photos be taken?
- Traffic flow — don't block walkways or emergency exits
- Power access — you'll need electricity for the pump
Not sure which sizes to get? See our size guide.
Step 2: Inflate the Balls
- Unfold each ball on a clean, smooth surface (avoid rough concrete or gravel that could damage the outer layer)
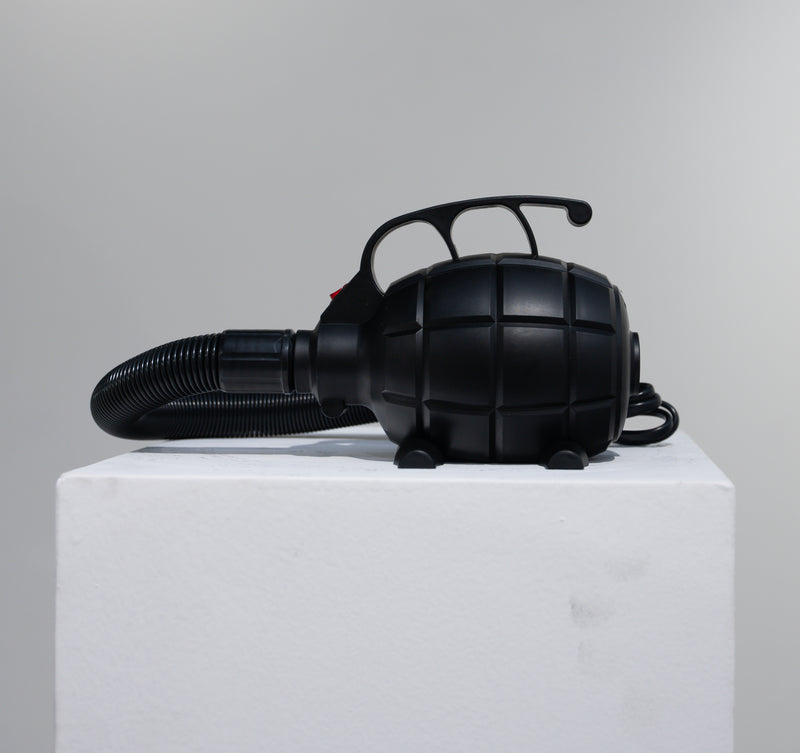
- Connect The Pump to the valve
- Inflate until firm but still slightly flexible — wrinkles along seams should mostly disappear
- Lock the valve (push in white button, or push + quarter-turn for grey valves)
- Check inflation after 15–20 minutes — add air if the ball has settled slightly
- Note: the small hole near the valve is intentional (vents air between layers) — do not cover it
Step 3: Secure and Position
For floor arrangements:
- Start with the largest balls first — position them as anchors
- Apply nano tape between ball surfaces (avoid seams) to keep them from shifting
- Reinforce with zip ties through D-rings where possible
- For outdoor setups, anchor base balls to ground stakes or weights via D-rings
For stacked arrangements:
- Build from the bottom up — secure the base layer completely before adding upper layers
- Use nano tape + zip ties at every connection point
- For stacks over 3 balls high, consider a hidden internal frame or support structure
- Add secondary safety lines from upper balls to fixed anchor points

For ceiling or hanging arrangements:
- Have a qualified rigging professional plan and install them
- Attach only to structural ceiling points or a rigging grid
- Vary heights for visual depth
- Ensure all rigging hardware is rated for the weight (a 6 ft ball is about 10 kg / 22 lbs)
Step 4: Light It
Chrome mirror balls reflect and amplify light — strategic lighting transforms a good installation into a spectacular one.
- Uplighting: LED uplights beneath or around the balls create dramatic shadows and reflections
- Spotlights: A focused spot on the chrome surface sends reflections across the room (disco ball effect)
- Color washes: Colored LED lights change the apparent color of silver balls without needing different colored inflatables
- Natural light: Outdoor daytime installations benefit from sunlight reflections — position balls where they'll catch direct sun
Step 5: Final Check
- Walk the full perimeter of the installation
- Check every ball for firm inflation
- Test all attachment points — tug gently to confirm security
- Take test photos from the angles guests will use
- Clean any fingerprints or smudges with water and a soft cloth
Pro Tips from Big Shiny Balls®
- Mix sizes, not colors: 2–3 colors maximum. Too many colors looks chaotic. Graduated sizes in the same color creates elegance.
- Odd numbers: Groups of 3, 5, or 7 are more visually appealing than even numbers.
- Leave breathing room: Don't pack balls too tightly — negative space makes the installation feel intentional, not cluttered.
- Temperature matters: Cold air contracts, warm air expands. If you inflate indoors and display outdoors in cold weather, the balls may appear slightly wrinkled. Top up with a little extra air.
- Pre-inflate the day before: Inflate balls a day early to check for any slow leaks. Balls that hold overnight should be fine for the event.
Need help planning your space? Email hello@bigshinyballs.com for custom installation recommendations.